
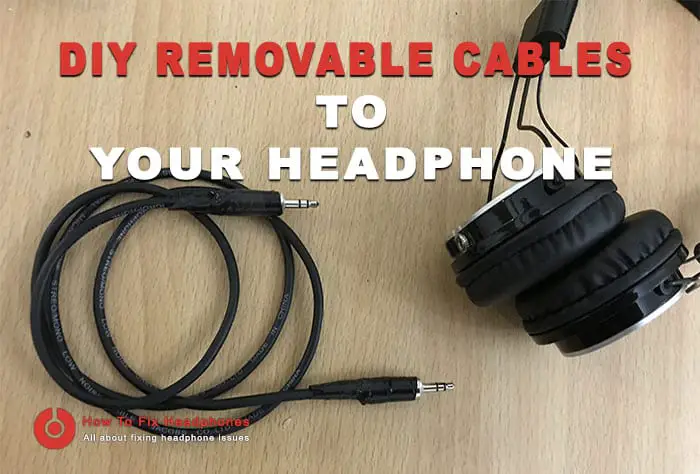
With everyday normal movement with a headphone on, eventually, the headphone cords get twisted together beyond the point of no return, and this is what happened to me with my previous pair. Now for the new one, I decided to solve this issue and create my own DIY solution of detachable cord headphones.
This will not only fix the breaking cable your headphones might have but also acts as a pseudo quick disconnect solution.
Table of Contents
- How To Make Your Headphone Cable Removable?
- Headphone Types Can Be Converted To DIY Detachable Cord?
- Things Need To Be Prepared
- DIY Headphone Detachable Cables
- Conclusion
How To Make Your Headphone Cable Removable?
To make your headphone cable removable you need to have headphones that earpieces can be opened up in such a way that can be put back together perfectly, there are several headphones that are applicable, so if you have one you may proceed to the DIY Video Tutorial below.
Headphone Types Can Be Converted To DIY Detachable Cord?
First of all this method is meant to be implemented on on-ear or over-ear headphones styles and not for earbuds, mostly the on-ear headphones that have two cables one for each cap is what this method is all about, but still, even headphones with one cable can be converted to detachable cord headphone despite that issue of twisted cords.
Converting a headphone to have an 8″ (3.5 mm) socket in it will make your life easier, in case you have an issue with your jack plug its easy to replace the cable as simple as that, or if you are suffering that your cord is short, simply buy a new cable ..etc.
Things Need To Be Prepared
To start working on this DIY hack you need to have certain basic tools at home in addition to some mount panels and plugs that you could purchase online very easily and quickly, check their promotion prices from the links, so let’s start with the preparation:
- Cable Strippers.
- Pliers/wire snips.
- Drill tool and Bits.
- 8″ (3.5 mm) micro stereo panel mount headphone jacks (3.5 mm female).
- 2×1/8″ (3.5 mm) stereo phone plugs (3.5 mm male).
- Audio Cord.
- Heat gun.
- Heat Shrink.
DIY Headphone Detachable Cables
The trick to making this solution solid is how to make it heavy duty and life lasting, and it’s all about how good you are at handmade stuff, the key here is to be sure that the stereo panel mounts (or mono) to be fixed permanently solid on the headphone’s caps plastic body.
You can watch this video I made for you for all the processes of modifying the headphone to have detachable cords, and if you have any queries please read the article below for further details and clarifications.
So let’s kick this off:
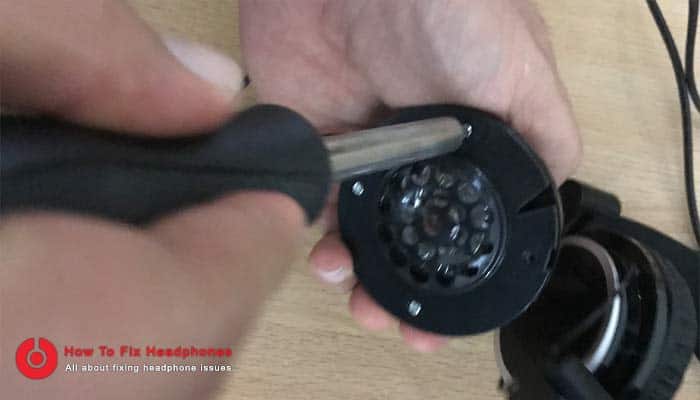
Step 1 – Disassemble Headphone Earpieces
Now for disassembling your headphone cap, this depends on how your headphone was made like, some caps opened easily by twisting them right or left a bit, while some others are fixed by screws, I cannot cover all types of headphone caps here you need to check that but remember, you need to open it in a way that can be fixed back perfectly.
For some cases you might have an ear caps that are glued together, in this case, you need to use the heat gun a while to loosen the glue then to twist and pry the two pieces apart.
In my case, my headphone caps fixed by screws so I will open it as shown in the below image.
Step 2 – Install The Jack (Socket) On The Cap
This is the main part of the process if you do it well you will sleep well :), fixing the mono or stereo panel mount on the headphone is crucial so you better be so accurate with your work.
Drill The Cap Plastic: Use the drilling tool to enlarge the hole in the plastic which the original cable is passing through, the hole should be perfectly fit the panel neck to be fixed tightly using a perfect Bit match size.
Fix The Jack (Socket Mount Panel): Insert the mounting panel into the hole, it should sit tight and fixed in a position that the 1/8″ (3.5 mm) headphone jack opening is installed on the outer wall of the earpiece plastic.
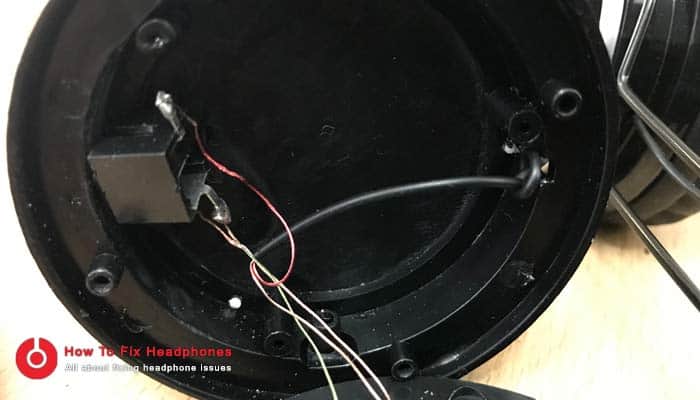
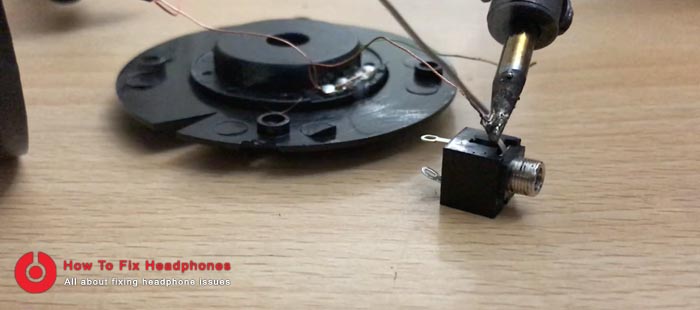
Step 3 – Soldering The Speaker Connections
This is the time to solder the cables of the speaker into the jack mount, you will be having either two cables or three depending on your headphones whether you are having two detachable cables or a single one (two mono speakers or one stereo speaker), it all depends on what you have or what are you planning to do, but mostly 99% you will be having 3 cables for both speakers.
To do the soldering, you need to:
- First, cut the speaker cable (for each speaker if applicable) using your Plier.
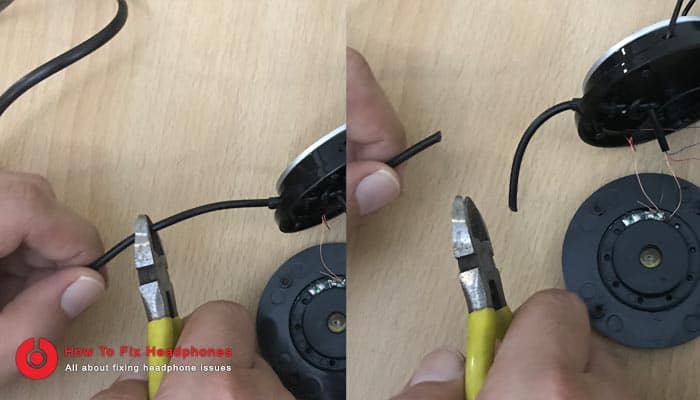
- Slice each individual cable using a cable splicer. (you could use a lighter as well).
- Assign the individual cables according to the jack poles.
- Wrap each cable firmly on each associated pole hole.
- Soldier each cable firmly in its place using your soldering tool.
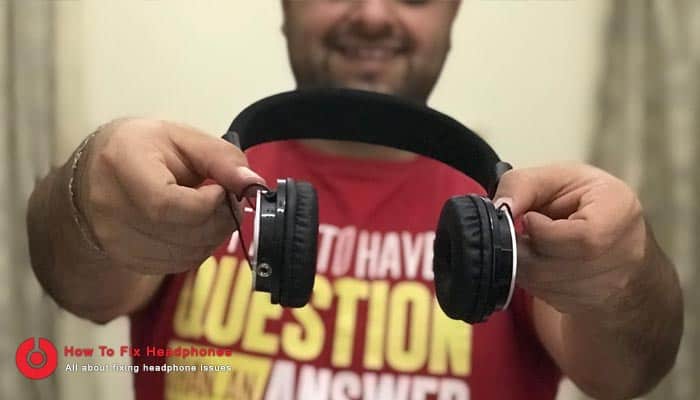
Step 4 – Finishing
This is the easy part where you put back everything in place in reverse order with regards to the headphone caps, be sure to fix them well back.
You could also apply some sort of silicon using a silicon gun on the joint between the jack mount and the plastic hole on the cap for better solid fixing.
Step 5 – The Audio Cables
For the audio cables, this depends on the type of your headphone (either one cable to be used to cover both speakers or two cables one for each speaker cap separately) as this decides how many cables you need to function your new setup, but regardless of that, you can either:
- Buy or use any audio cables.
- DIY cables using your existing ones.
If you decided to give the DIY method a go, then you need to have the 2 x 1/8″ (3.5 mm) stereo (or mono) audio jack plugs as mentioned above in the requirements, so let’s do it.
Connect the cables to the new plug you have (This should take no more than 1 – 2 minutes)
You can see me in the below video on how to prepare the audio jack and solder it on a new audio cable.
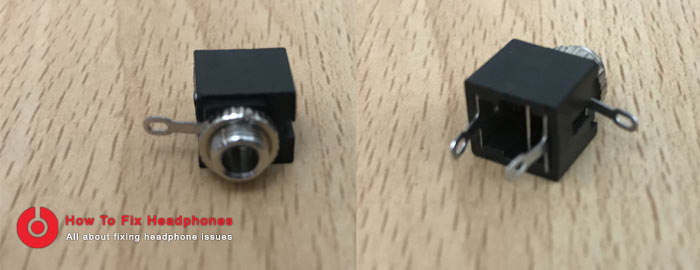
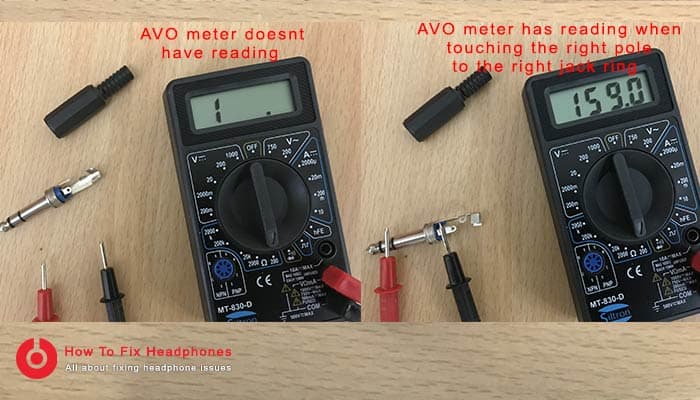
- Open the new headphone plug you have by unscrewing it, then put the second piece of the new plug into the cables you sliced (as shown in the below image)
- Each cable should be connected to its associated terminal of the new jack plug, simply slide it into the terminal hole as shown in the image and wrap it around the terminal for few times tightly.
- Solder the twisted cable in its place with the plug terminal and be sure that it is fixed well and solid.
- Repeat the same process for each cable with their associated poles.
Now you have your own DIY audio cable to use with your new detachable cables headphone, putting in mind that you should do another audio cable (cord) following the same process in case your headphone has two separate cables for each cap.
Conclusion
Having detachable cord headphones is really awesome, but this is not the only thing, detachable cables headphones give you the flexibility to change the audio cables directly and at any time with no hassle in case you wanted to have longer ones, or if one of them have damages audio jacks .. etc.
Share this article below if you believe people need to know about it … 🙂
Recent Posts
Is Wireless Audio Transmission Not Reliable As Wired Headphones?
Yes, wired headphones are more reliable than wireless audio transmission, as wireless headphones' connection might drop from time to time, as well as it is much more dependent on batteries compared...
As a rule of thumb and the World Health Organization, each person should use headphones at less than 60 percent volume for 60 minutes a day. That’s the safest route you can take for the usage of...
