
Table of Contents
Why Do My Headphones Leak Sound?
Headphones leak sounds because of air vibration produced by the speaker’s drum, the air vibration penetrates the headset pads that were made to stop the sound leak, this mostly happens when the volume is high as well as if your headphone is an open back headphone, this applies to earbuds as well.
Before proceeding with the 9 tips I researched for you I want you to understand first what are the reasons behind the sound leakage of your headphones or earbuds. Basically, there are three main factors behind that cause which are:
- Headphone driver size: Headphones with smaller driver types produce less leakage, earbuds, and in-ear headsets have the least amount of leakage hence open back earbuds or in-ear headsets tend to have less leakage compared to closed-back over-ears headphones.
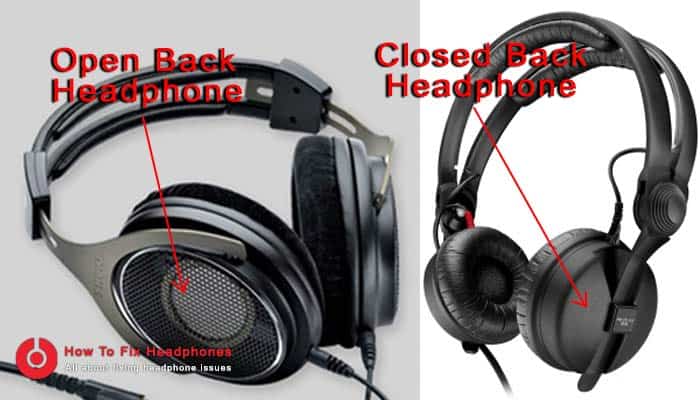
- Enclosure: If two headphones are with the same exact design and size except one is open-back and one is closed-back, the open-back one will leak considerably more.
- Transducer: there are 5 types of transducers “which is the mechanism of transforming electrical signals to sound” and the one with the most leakage amount is the Planar Magnetic transducer, because Planar Magnetic headphones emit sound bi-directionally and tend to leak more from the back compared to headphones with a Dynamic or Balanced Armature transducer. noting the most leakage amount the Planar Magnetic transducer produces were used only by open-back headphones.
- Dynamic “moving coil”.
- Balanced armature.
- Planar magnetic.
- Electrostatic.
- Magnetostriction “bone conduction”.
Is There A Way to Stop My Headphones From Leaking Sound?
You can stop headphones’ sound leakage by having a headphone that:
- Is closed on the back.
- Completely surround your ear.
- For earbuds style, use a gel tip that goes in your ear.
Below are more 9 tips you can use to stop sound leaking.
There are several ways how to reduce sound leaking but there is no ultimate or final solution to stop it, as far as I know, neither on the internet, you cannot find a final solution for stopping normal headphones from leaking sound while they weren’t designed for this purpose.
But still, you can try the below 9 tips & tricks or learn which headphone type is better to solve your sound leaking issues.
9 TIPS ON HOW TO STOP HEADPHONES FROM LEAKING SOUND
Here are 9 Tips to prevent your headphones from leaking sound:
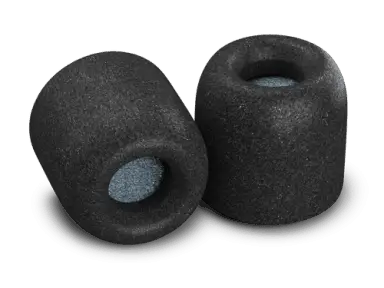
- Foam ear tips (not silicone tips): If you are using in-ear earbuds, simply try changing their tips from silicon to foam made ones, these foam ear tips are way better for sound leaking reduction than the normal silicon made ones.
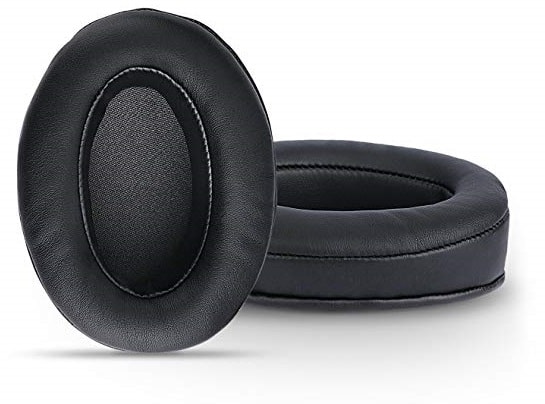
- Buy foam earpads: which are perfect for many large on-ear headphones, those foam earpads are comfortable to use and also reduce most of the sound leakage if you replace your own with these it’s a good solution while they are covering the whole ears.
- Cover your earbuds with your hands: I know this solution might not look practical if you want to enjoy listening to music, but it is so effective if you want to listen to a private conversation or message while surrounded by people simply cover both ears completely by your hands while wearing your earbuds.
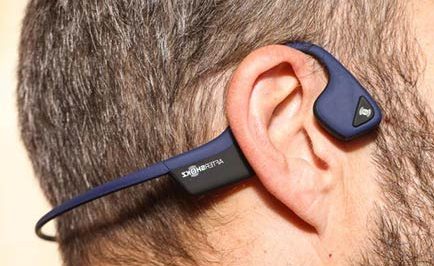
- Use bone conduction headphones: those bone conduction headphones leak very little sound compared to normal headphones.
- Use noise-isolating headphones: this is the best solution to be honest if you want not to annoy people around you, these types of headphones were made for this purpose. (But if you do not have the budget to buy them simply rely on ear-protection muffs described in point 6 below which is way costing less but you need to DIY).
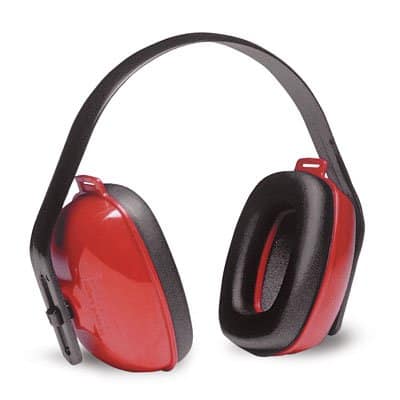
- Use a pair of ear-protection ear muffs: something like a closed-back over-ear headphone to cover your earbuds, but also in case you are not using earbuds but normal headphones still you can DIY to make your own professional sound isolation headphone.
- Absorb more frequencies: in case you will try to use a pair of ear-protection muffs described above in point 4, you can reduce more sound leakage by absorbing some sound frequencies from your headphones, to do that you can stuff noise and sound isolation foams (dampening material) inside of the cups, this trick will massively reduce sound leakage.
- Turn your volume down: this is also a very good tip for your ear health, you need to learn more about that by checking “Will using a Bluetooth headphone cause damage to my head?” article.
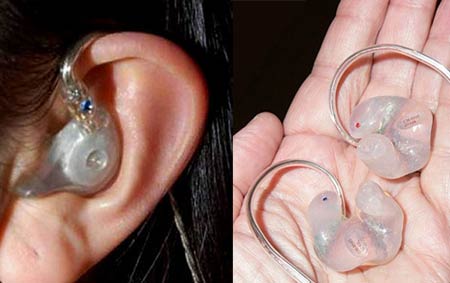
- In-ear monitors (IEMs): You also can try this kind of headphones which are basically custom-designed for musicians or studios that are well made to isolate noises and sound leakage.
DIY Soundproof Headphone Hack
In this section, I will show you step by step how to build your own soundproof headphone using materials most of us have at home except maybe for the earmuff, the quality of this soundproof headphone will be rocking, it will isolate not only the sound leakage of your headphone but also isolate you completely from hearing anything outside the headphones while enjoying perfectly listening to your favorite music…
Let’s do it, the materials needed for this DIY project are below, check their Amazon prices from the below links:
STEP 1: Preparing the earmuff by pulling out the foam gently till it gets out completely.
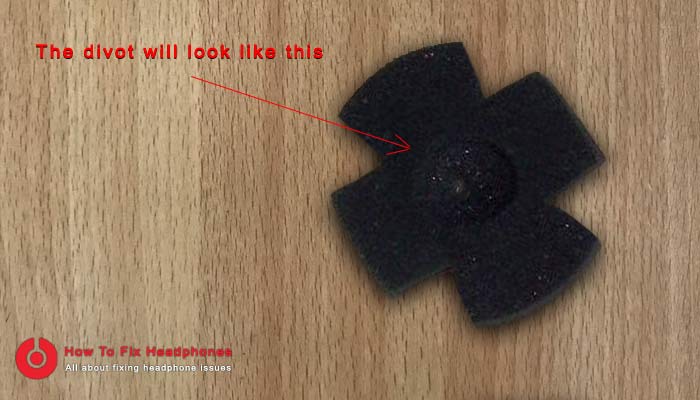
STEP 2: When both foams have been pulled and are ready, use your razor blade to make a divot on each foam the same size as your headphone speakers we just prepared in step 1.

the divot will look like this
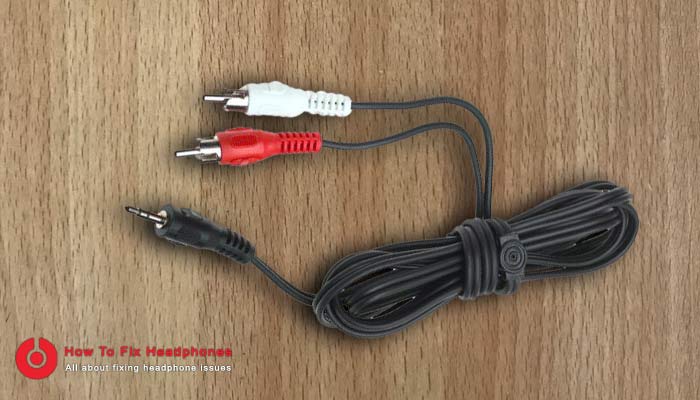
STEP 3: Bring your Y cable and be sure it has a 3.5 mm jack at the other end which is the proper size to fit the most common devices and mobiles for headphones.
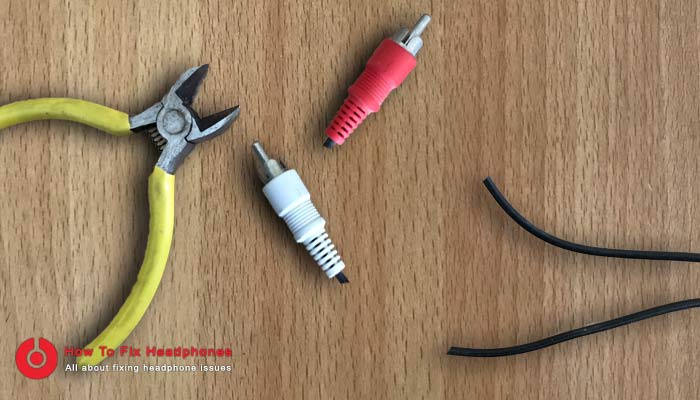
Cut both red and white end sockets using your cutter or pliers as shown in the below image.
STEP 4: Now bring your drill machine to make a hole in the left side of your ear muff in order to pull both cable ends (as shown in the image above after cutting their heads).
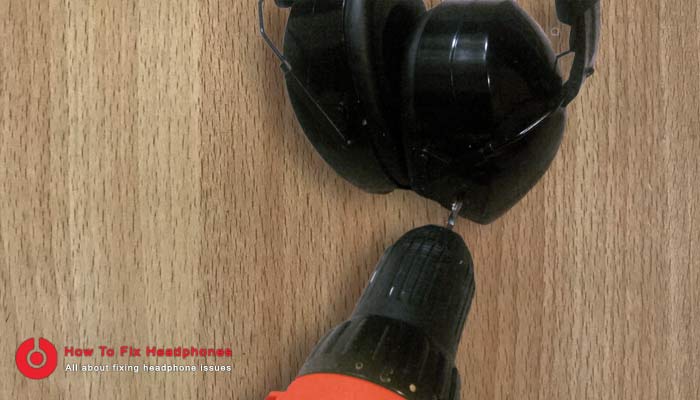
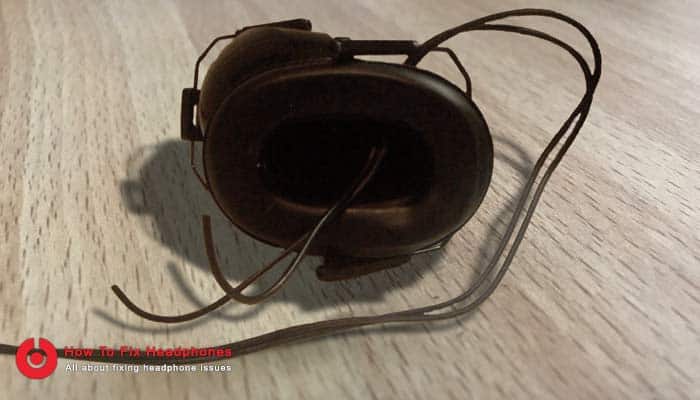
Pull the cables inside the hole you just drilled (as shown in the below image)
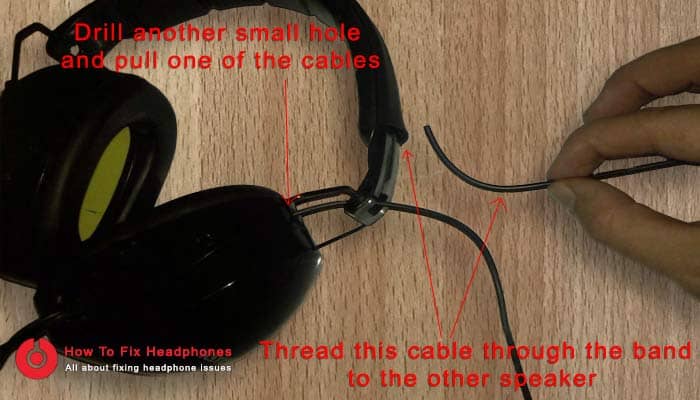
STEP 5: Make another small hole on the top of the same left side of the muff cup and pass one cable out of the two, the cable length should be enough to reach the other speaker (right side speaker) by threading it through the band on top (as described in the below image).
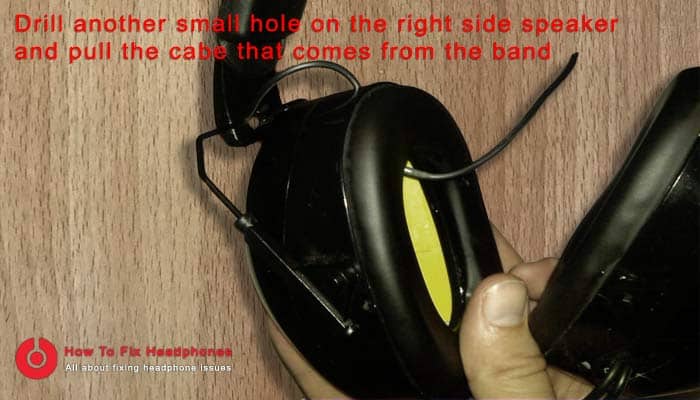
Make another small hole on the top of the right speaker and insert the cable that comes out from the band into the right cup of the muff (as shown in the below image)
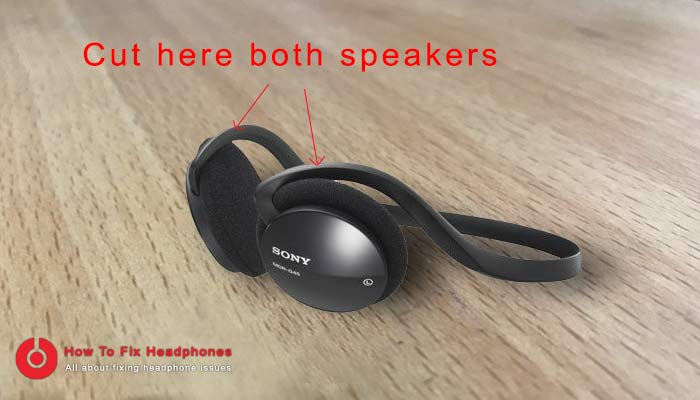
STEP 6: Cut and prepare your headphones into two pieces using your pliers.
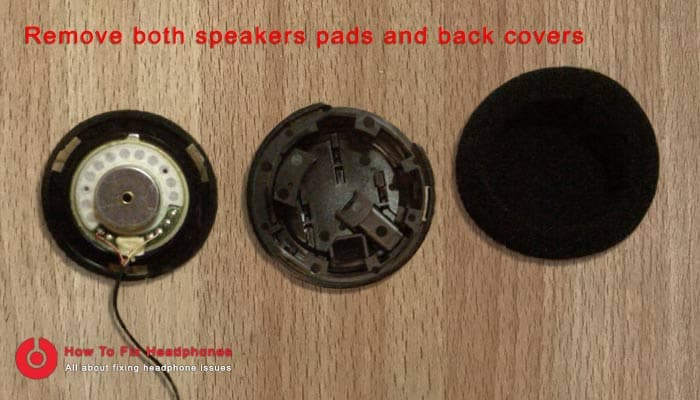
Remove both speakers’ pads off and back covers preparing both speakers to be fixed into the earmuffs.
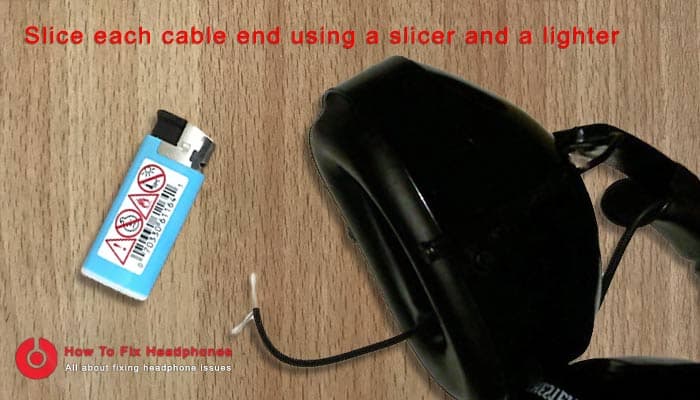
STEP 7: Slice each cable end using the wire stripper tool and a lighter if required.
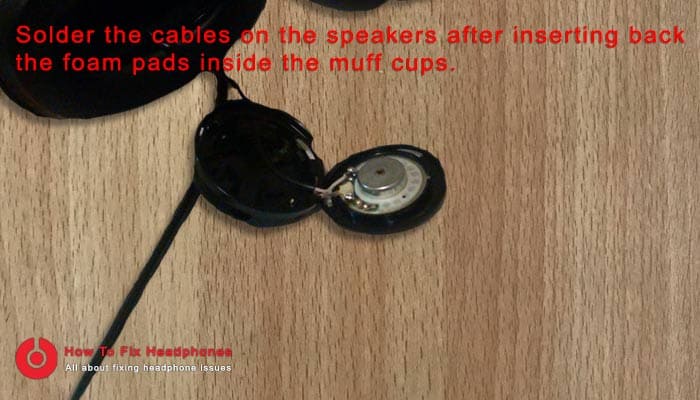
Solder cables on each speaker using the soldering gun but before that be sure to insert the cables through the foam pads and put back the foam pads into the ear-muff cups.
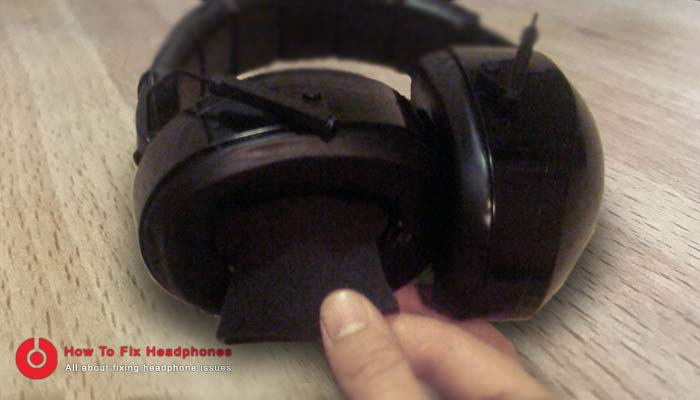
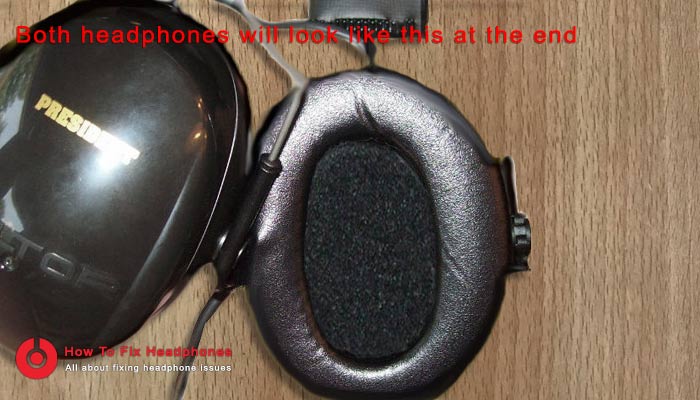
STEP 8: Fix back all pieces together using epoxy or glue thus the final headphones should look like the below image.
Conclusion
Sound leakage as I mentioned before is part of the headphone design itself as those headphones are designed to use the sound leakage to enlarge the sound the user is listening to and give it more bass, however, there are special headphones made to be soundproof with minimal leakage you could buy, although most of those headphones are pretty expensive still there are some with affordable prices out there.
Share this article below if you believe people need to know about it … 🙂
Topics You Might Also Like To Read
While I search the internet for headphones issues I found that people are asking several questions about using and wearing their earbuds and headphones from time to time, and since most of these...
Using our headphones on a daily basis has become a habit for many of us, especially for those who use to jog every morning or spend their time on the train listening to music. Who doesn't enjoy...
